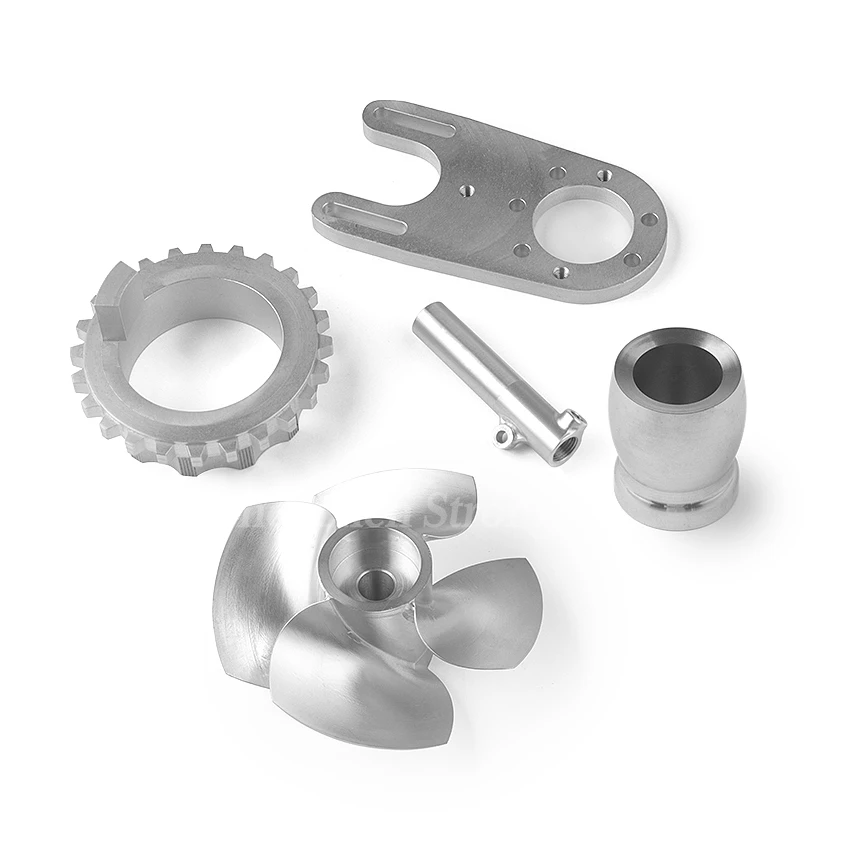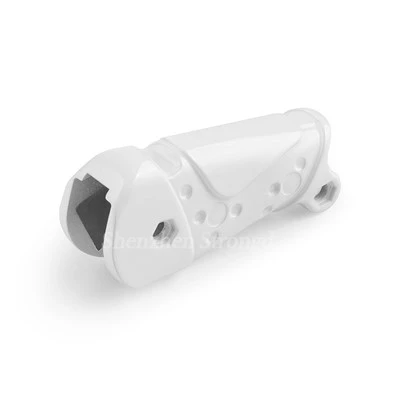

Hey there, fellow 3D printing enthusiasts! I'm part of a 3D Resin Printing supplier, and today I wanna talk about one of the most crucial aspects of 3D resin printing: adjusting the layer height. It might seem like a small detail, but trust me, it can make a huge difference in the final outcome of your prints.
Why Layer Height Matters
First off, let's understand why layer height is such a big deal. In 3D resin printing, the layer height determines how thick each individual layer of resin is when it's cured. A smaller layer height means more layers are needed to build the object, which generally results in a smoother surface finish and more detailed prints. On the other hand, a larger layer height means fewer layers, which can speed up the printing process but might sacrifice some detail and surface quality.
Think of it like building a house with bricks. If you use smaller bricks, you can create more intricate designs and a smoother exterior, but it'll take longer. If you use bigger bricks, you'll finish the house faster, but it might not look as polished. The same principle applies to 3D resin printing.
Factors to Consider Before Adjusting Layer Height
Before you start tweaking the layer height settings on your 3D resin printer, there are a few things you need to keep in mind.
The Design of Your Model
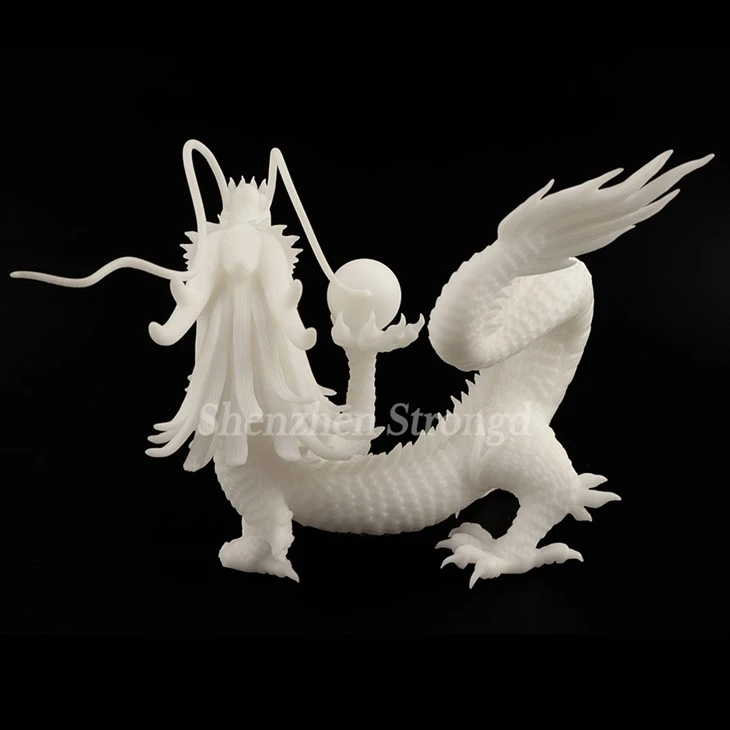
The complexity and detail of your 3D model play a significant role in determining the appropriate layer height. If your model has a lot of fine details, such as small text or intricate patterns, you'll probably want to use a smaller layer height to capture those details accurately. For example, if you're printing a jewelry piece with delicate filigree work, a layer height of 0.025mm or even lower might be necessary.
On the other hand, if your model is relatively simple and doesn't require a high level of detail, you can get away with a larger layer height. For instance, if you're printing a basic geometric shape like a cube or a sphere, a layer height of 0.1mm or 0.2mm might be sufficient.
The Type of Resin You're Using
Different types of resin have different properties, and these properties can affect how well they perform at different layer heights. Some resins are more viscous and might require a larger layer height to ensure proper flow and curing. Others are more fluid and can handle smaller layer heights without any issues.
For example, some high-performance resins are designed specifically for fine-detail printing and can achieve excellent results at very low layer heights. These resins are often more expensive but are worth it if you need to print highly detailed models. On the other hand, standard resins are more affordable and can be used for a wide range of applications, but they might not perform as well at extremely low layer heights.
The Capabilities of Your Printer
Not all 3D resin printers are created equal. Some printers have a higher resolution and can support smaller layer heights, while others are more limited in this regard. Before you try to print at a very low layer height, make sure your printer is capable of it. Check the manufacturer's specifications to see what the minimum and maximum layer heights are for your printer.
In addition to the printer's resolution, you also need to consider other factors such as the build plate size and the curing time. Printing at a very small layer height can significantly increase the printing time, especially if you're printing a large object. Make sure you have enough time and patience to let the printer do its thing.
How to Adjust the Layer Height
Now that you've considered all the factors, it's time to actually adjust the layer height on your 3D resin printer. The process might vary depending on the make and model of your printer, but here's a general guide to get you started.
Step 1: Prepare Your Model
Before you can adjust the layer height, you need to have your 3D model ready. Make sure the model is in the correct format (usually STL or OBJ) and has been properly scaled and oriented. You can use a 3D modeling software like Blender or Fusion 360 to prepare your model.
Step 2: Import Your Model into the Slicer Software
Once your model is ready, you need to import it into the slicer software that came with your printer. The slicer software is responsible for slicing your 3D model into individual layers and generating the G-code that your printer can understand.
There are several slicer software options available, such as Chitubox, Lychee Slicer, and PrusaSlicer. Each software has its own interface and features, but they all have a similar process for adjusting the layer height.
Step 3: Find the Layer Height Setting
In the slicer software, look for the setting that allows you to adjust the layer height. This setting is usually located in the “Print Settings” or “Advanced Settings” section. Once you've found the setting, you can enter the desired layer height value.
Step 4: Preview and Adjust
After you've entered the layer height value, you can preview the sliced model to see how it looks. The slicer software will show you a visual representation of each layer and how they stack up to form the final object. If you're not happy with the preview, you can go back and adjust the layer height again until you get the desired result.
Step 5: Generate the G-code and Print
Once you're satisfied with the preview, you can generate the G-code file and transfer it to your 3D resin printer. Follow the printer's instructions to start the printing process. Make sure you have enough resin in the resin tank and that the build plate is properly calibrated.
Tips for Adjusting Layer Height
Here are some additional tips to help you get the best results when adjusting the layer height in 3D resin printing.
Start with a Test Print
If you're new to 3D resin printing or if you're trying a new layer height setting, it's a good idea to start with a test print. Print a small, simple object at the desired layer height and examine the results. This will give you an idea of how the printer performs at that layer height and whether any adjustments are needed.
Experiment with Different Layer Heights
Don't be afraid to experiment with different layer heights to see what works best for your specific project. You might find that a slightly different layer height can make a big difference in the final outcome. Keep a record of your experiments and the results you get, so you can refer back to them in the future.
Consider the Printing Time
As mentioned earlier, printing at a smaller layer height can significantly increase the printing time. If you're on a tight schedule or if you need to print multiple objects, you might want to consider using a larger layer height to speed up the process. However, make sure you don't sacrifice too much detail in the process.
Use Support Structures Wisely
When printing at a small layer height, it's especially important to use support structures properly. Support structures help to hold up overhanging parts of the model and prevent them from collapsing during the printing process. Make sure you place the support structures in the right places and adjust their density and size as needed.
Conclusion
Adjusting the layer height in 3D resin printing is a crucial skill that can greatly affect the quality and detail of your prints. By considering the design of your model, the type of resin you're using, and the capabilities of your printer, you can choose the appropriate layer height for your project. Remember to start with a test print, experiment with different layer heights, and use support structures wisely.
If you're looking for high-quality Resin 3D Printing Parts or SLA 3D Printing ABS Resin Parts, we're here to help. As a leading 3D Resin Printing supplier, we have the expertise and experience to provide you with the best printing solutions. Whether you're a hobbyist or a professional, we can work with you to bring your ideas to life.
If you're interested in learning more about our services or have any questions about 3D resin printing, don't hesitate to reach out to us for a friendly chat and potential procurement discussions. We're always happy to help!

References
- 3D Printing Basics: A Comprehensive Guide to 3D Printing Technology.
- Resin 3D Printing: Best Practices and Tips for High-Quality Prints.
- Slicer Software User Manuals.