
Hey there! As a provider of SLA 3D printing services, I've seen my fair share of issues when it comes to over - curing in SLA 3D printing. Over - curing can mess up your prints big time, leading to brittleness, warping, and other problems. So, in this blog, I'm gonna share some tips on how to avoid over - curing in SLA 3D printing.


First off, let's understand what over - curing is. In SLA 3D printing, we use a liquid resin that gets cured by a light source, usually a laser or a UV light. When the resin is exposed to too much light for too long, it goes through excessive polymerization. This means the molecules in the resin link up more than they should, making the printed part hard and brittle.
One of the main causes of over - curing is incorrect exposure settings. Every type of resin has its own optimal exposure time and intensity. If you set the exposure time too long or the intensity too high, you're asking for over - curing. To avoid this, you need to do some testing. Start by printing small test pieces with different exposure settings. You can use a test print that has different sections with varying exposure times. This way, you can visually inspect which settings give you the best results.
Another thing to consider is the temperature of the printing environment. Resin reacts differently to light at different temperatures. If the temperature is too high, the resin may cure faster than normal, increasing the risk of over - curing. Make sure your printing area is well - ventilated and kept at a stable temperature. Most resins work best at room temperature, around 20 - 25 degrees Celsius. You can use a thermometer to monitor the temperature and adjust your exposure settings accordingly.
The quality of the light source also plays a crucial role. A worn - out or inconsistent light source can lead to uneven curing. If the light is too strong in some areas and too weak in others, you might end up with parts that are over - cured in some spots and under - cured in others. Regularly check your light source for any signs of damage or degradation. Replace it if necessary to ensure a consistent and even curing process.
The thickness of the layers you're printing can also affect curing. Thicker layers require more light exposure to cure properly, but if you're not careful, you can easily over - cure them. Try to keep your layer thickness within the recommended range for the resin you're using. Thinner layers generally cure more evenly and are less likely to be over - cured. You can experiment with different layer thicknesses to find the sweet spot for your specific project.
Post - processing is another area where over - curing can occur. After printing, parts are often post - cured in a UV chamber to enhance their mechanical properties. However, if you leave the parts in the UV chamber for too long, you'll over - cure them. Follow the manufacturer's recommendations for post - curing time and intensity. Don't be tempted to extend the post - curing time thinking it'll make the parts stronger, as it usually just makes them more brittle.
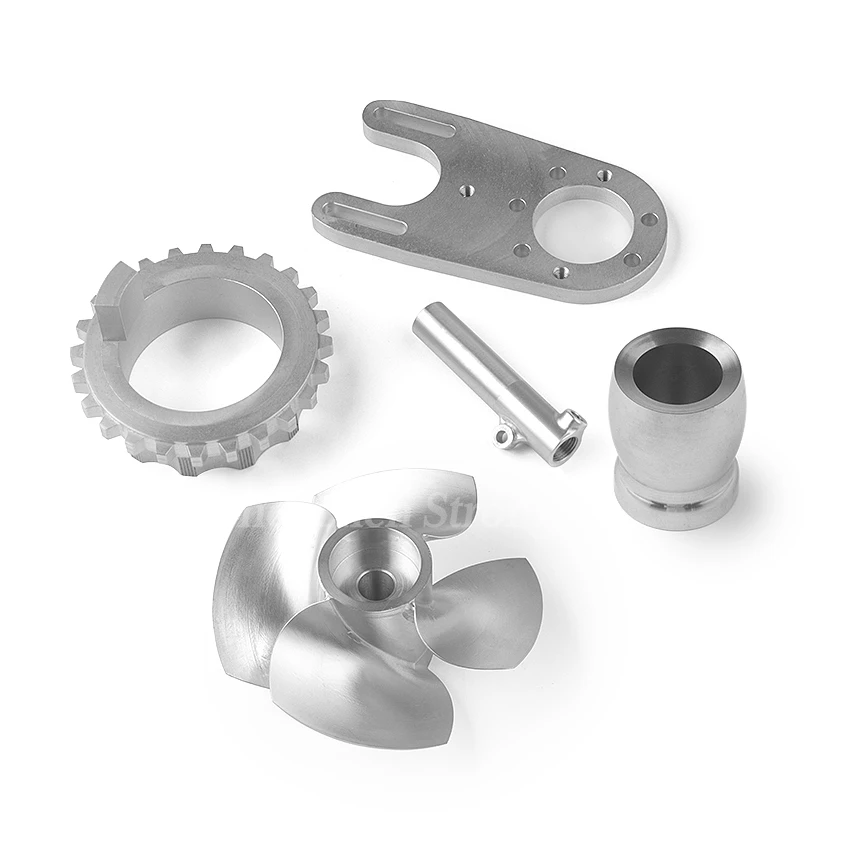
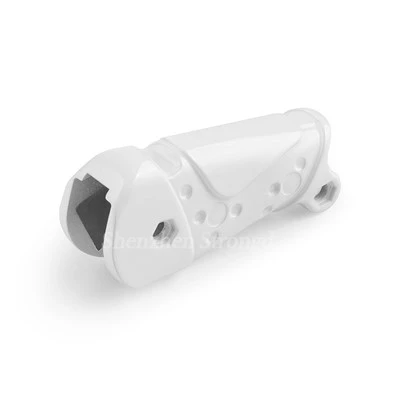
Now, let's talk about how over - curing affects different types of SLA 3D printing applications. If you're into SLA 3D Model Making, over - curing can ruin the fine details of your models. The brittleness caused by over - curing can make the models break easily, especially the delicate parts. For Resin 3D Printing Parts, over - curing can affect their functionality. For example, if you're printing parts that need to be flexible or have some degree of elasticity, over - curing will make them rigid and unusable. And when it comes to 3D Printing Plastic Parts, over - curing can lead to warping and dimensional inaccuracies, which are a big no - no if you need precise parts.
As a SLA 3D printing service provider, I've developed some best practices over the years. I always start by having a detailed conversation with my clients about their project requirements. This helps me understand the type of resin and the level of detail they need. I then run a series of test prints to fine - tune the exposure settings. During the printing process, I closely monitor the temperature and the performance of the light source. And after printing, I follow a strict post - curing schedule based on the resin specifications.
If you're having trouble with over - curing in your SLA 3D printing projects, don't hesitate to reach out. We're here to help you get the best results from your prints. Whether you're a hobbyist or a professional, we can provide you with the expertise and support you need. Contact us for a free consultation and let's work together to avoid over - curing and create high - quality 3D printed parts.
References
- "3D Printing with Resin: A Comprehensive Guide" by 3D Printing Experts
- Manufacturer's guides for various SLA resins
- Industry research papers on SLA 3D printing technology