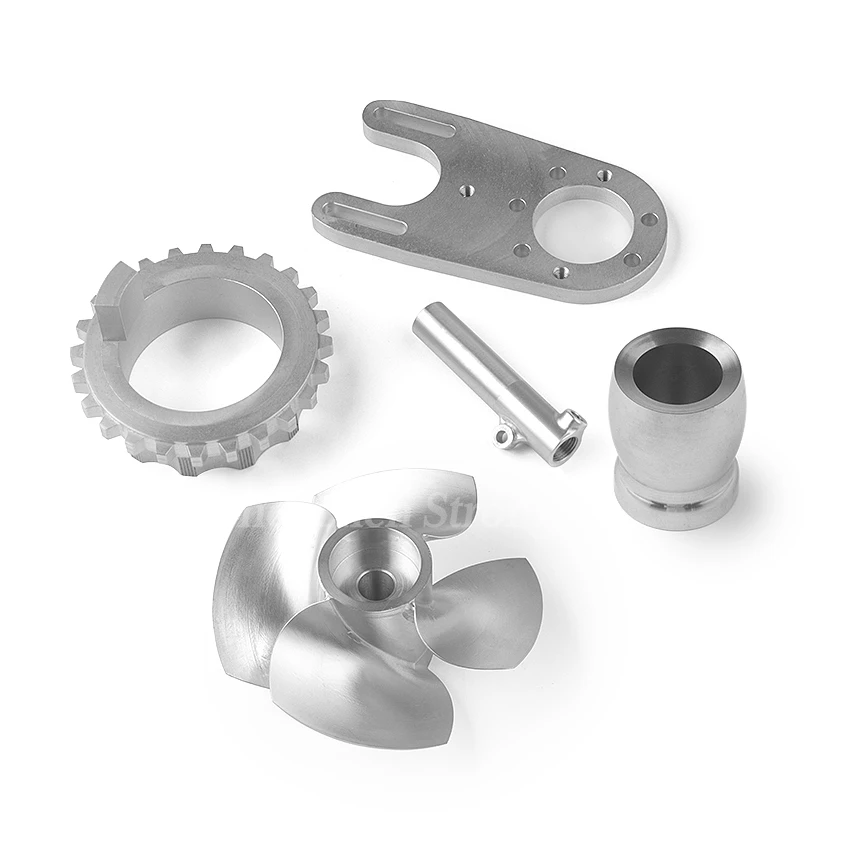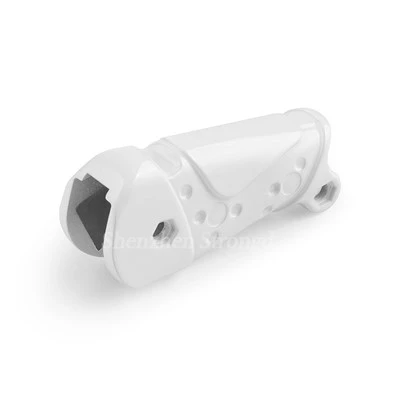

Creating a metallic finish on 3D printed model parts can significantly enhance their aesthetic appeal and functionality, making them suitable for a wide range of applications, from decorative pieces to functional prototypes. As a 3D Printing Model Parts supplier, I've had the opportunity to explore various techniques and materials to achieve stunning metallic effects on 3D printed objects. In this blog post, I'll share some of the most effective methods and tips for creating a metallic finish on your 3D printed model parts.
Understanding the Basics of 3D Printing and Metallic Finishes
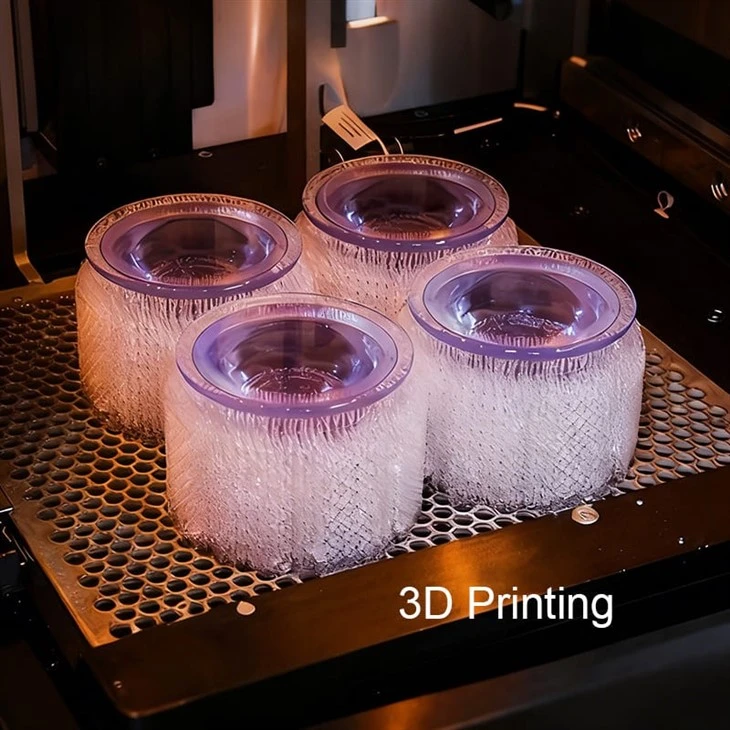
Before diving into the specific techniques, it's important to understand the fundamentals of 3D printing and how different printing methods can affect the final metallic finish. There are several types of 3D printing technologies available, each with its own advantages and limitations. For creating metallic finishes, two popular methods are SLA (Stereolithography) and resin 3D printing.
- SLA 3D Printing ABS Resin Parts: SLA 3D printing uses a laser to cure liquid resin layer by layer, creating highly detailed and accurate parts. ABS resin is a commonly used material in SLA printing, known for its strength and durability. You can learn more about SLA 3D Printing ABS Resin Parts and their applications.
- Resin 3D Printing Parts: Resin 3D printing offers high precision and smooth surface finishes, making it ideal for creating parts with intricate details. The resin materials used in this process can be easily customized to achieve different colors and finishes, including metallic effects. Check out Resin 3D Printing Parts for more information on this technology.
- 3D Resin Printing: Born For Ultimate Precision And Complex Designs: Resin 3D printing is particularly well-suited for creating parts with complex geometries and fine details. The technology allows for precise control over the printing process, resulting in high-quality parts that can be easily post-processed to achieve a metallic finish. Read more about 3D Resin Printing: Born For Ultimate Precision And Complex Designs to understand its capabilities.
Methods for Creating a Metallic Finish on 3D Printed Model Parts
1. Metallic Paint
One of the simplest and most cost-effective ways to create a metallic finish on 3D printed parts is by using metallic paint. Metallic paints are available in a variety of colors and finishes, including gold, silver, copper, and bronze. Here's how you can apply metallic paint to your 3D printed model parts:
- Prepare the Surface: Before painting, make sure the surface of the 3D printed part is clean and smooth. Sand the part with fine-grit sandpaper to remove any layer lines or rough spots. Wipe the part with a clean cloth to remove any dust or debris.
- Prime the Surface: Apply a thin layer of primer to the part to help the paint adhere better and provide a smooth base for the metallic paint. Allow the primer to dry completely according to the manufacturer's instructions.
- Apply the Metallic Paint: Use a small brush or an airbrush to apply the metallic paint in thin, even layers. Start with a light coat and gradually build up the color and intensity. Allow each coat to dry before applying the next one.
- Seal the Finish: Once the metallic paint has dried completely, apply a clear coat or sealant to protect the finish and give it a more durable and professional look.
2. Metal Plating
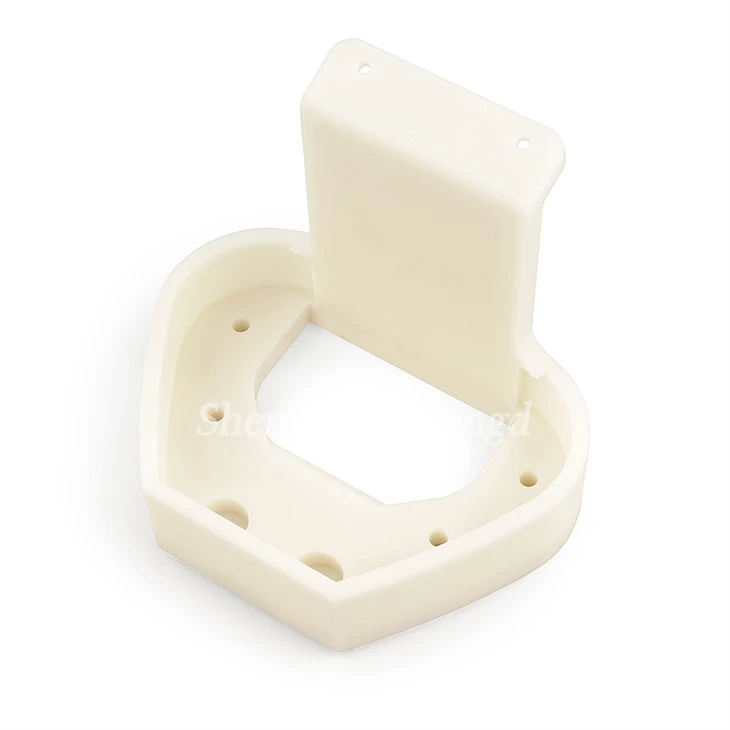
Metal plating is a more advanced method for creating a metallic finish on 3D printed parts. This process involves depositing a thin layer of metal onto the surface of the part using an electroplating or electroless plating technique. Metal plating can provide a more realistic and durable metallic finish compared to painting. Here's how you can plate your 3D printed model parts:
- Prepare the Part: Similar to painting, the surface of the 3D printed part needs to be clean and smooth before plating. Sand the part and remove any impurities or contaminants.
- Conductive Coating: Since 3D printed parts are typically made of non-conductive materials, a conductive coating needs to be applied to the surface of the part to allow the metal to adhere. This can be done using a conductive paint or a chemical treatment.
- Plating Process: Depending on the type of metal plating you want to use, you'll need to set up a plating bath and follow the specific instructions for the plating process. Electroplating involves using an electric current to deposit the metal onto the part, while electroless plating uses a chemical reaction to achieve the same result.
- Finishing and Polishing: After plating, the part may need to be polished to achieve a smooth and shiny finish. You can use a polishing compound and a soft cloth to buff the surface of the part.
3. Metallic Filaments
If you're using a FDM (Fused Deposition Modeling) 3D printer, you can use metallic filaments to print your parts directly with a metallic appearance. Metallic filaments are made by mixing metal particles with a plastic base material, such as PLA or ABS. These filaments can produce parts with a natural metallic look and feel. Here are some tips for using metallic filaments:
- Choose the Right Filament: There are different types of metallic filaments available, each with its own properties and characteristics. Choose a filament that is compatible with your 3D printer and suits your specific application.
- Adjust the Printing Settings: Metallic filaments may require different printing settings compared to regular filaments. You may need to adjust the temperature, speed, and layer height to ensure proper adhesion and print quality.
- Post-Processing: After printing, you can further enhance the metallic finish by sanding, polishing, or applying a clear coat to the part.
Tips for Achieving a High-Quality Metallic Finish
- Surface Preparation: Proper surface preparation is crucial for achieving a smooth and even metallic finish. Make sure to sand the part thoroughly and remove any imperfections before applying the metallic finish.
- Multiple Layers: Whether you're using paint or plating, applying multiple thin layers is better than one thick layer. This helps to build up the color and intensity of the metallic finish and reduces the risk of drips or unevenness.
- Testing and Experimentation: Before applying the metallic finish to your final part, it's a good idea to test the process on a small sample or a scrap piece of the same material. This allows you to adjust the settings and techniques as needed and ensure that you're happy with the results.
- Safety Precautions: When working with metallic paints, plating chemicals, or metallic filaments, make sure to follow the safety instructions provided by the manufacturer. Wear appropriate protective gear, such as gloves and goggles, and work in a well-ventilated area.
Conclusion
Creating a metallic finish on 3D printed model parts can add a touch of elegance and professionalism to your projects. Whether you choose to use metallic paint, metal plating, or metallic filaments, there are several methods available to achieve the desired effect. As a 3D Printing Model Parts supplier, I'm committed to providing high-quality 3D printed parts and helping our customers achieve the best possible results. If you're interested in exploring the possibilities of creating metallic finishes on your 3D printed parts or have any questions about our products and services, please don't hesitate to contact us for a procurement discussion.