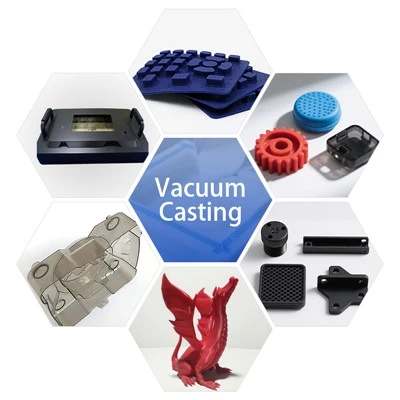

Making a mold for silicon rubber casting is a crucial process that directly impacts the quality and precision of the final casted parts. As a seasoned Silicon Rubber Casting supplier, I've had the privilege of mastering this craft and witnessing firsthand the transformative power of well - crafted molds. In this blog, I'll share a comprehensive guide on how to make a mold for silicon rubber casting, drawing from my years of industry experience.
Understanding the Basics of Silicon Rubber Casting
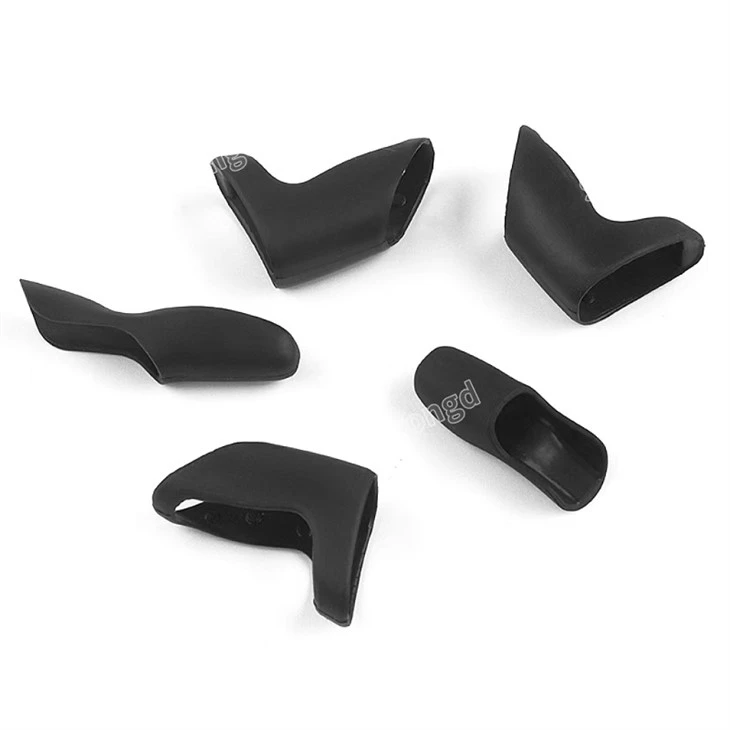
Before delving into the mold - making process, it's essential to understand the fundamentals of Silicon Rubber Casting. Silicon rubber casting is a manufacturing technique used to produce high - quality, detailed parts with excellent flexibility and durability. It involves pouring liquid silicone rubber into a mold, allowing it to cure, and then removing the solidified part from the mold. This process is widely used in various industries, including automotive, aerospace, and consumer products.
Selecting the Right Materials
The first step in making a mold for silicon rubber casting is selecting the appropriate materials. Here are the key materials you'll need:
Master Pattern
The master pattern is the original object from which the mold will be made. It can be made from various materials, such as wood, plastic, metal, or 3D - printed resin. The master pattern should be clean, smooth, and free of any defects or imperfections. It's important to ensure that the master pattern has the correct dimensions and details as these will be replicated in the final casted parts.
Silicone Rubber
There are different types of silicone rubber available for mold - making, each with its own properties and characteristics. For general silicon rubber casting, a two - component addition - cure silicone rubber is often preferred. This type of silicone rubber offers excellent flexibility, tear strength, and heat resistance. When choosing silicone rubber, consider factors such as the hardness, viscosity, and cure time.
Mold Release Agent
A mold release agent is used to prevent the silicone rubber from sticking to the master pattern and the mold box. There are various types of mold release agents available, including sprays, wipes, and brushes. Make sure to choose a mold release agent that is compatible with the silicone rubber and the master pattern material.
Mold Box
The mold box is used to contain the silicone rubber during the molding process. It can be made from wood, plastic, or metal. The mold box should be large enough to accommodate the master pattern with some extra space around it for the silicone rubber to flow.
Preparing the Master Pattern
Once you have selected the materials, it's time to prepare the master pattern. Here's how:
Cleaning
Clean the master pattern thoroughly to remove any dirt, dust, or grease. You can use a mild detergent and water to clean the master pattern, followed by a dry cloth to remove any moisture.
Applying Mold Release Agent
Apply a thin, even layer of mold release agent to the master pattern. Make sure to cover all surfaces, including any recesses or details. Allow the mold release agent to dry completely before proceeding.
Building the Mold Box
The next step is to build the mold box around the master pattern. Here's how:
Measuring and Cutting
Measure the dimensions of the master pattern and cut the mold box material accordingly. Make sure to leave enough space around the master pattern for the silicone rubber to flow.
Assembling the Mold Box
Assemble the mold box using screws, nails, or adhesive. Make sure the mold box is sturdy and leak - proof. Place the master pattern inside the mold box, ensuring that it is centered and level.
Mixing the Silicone Rubber
Now it's time to mix the silicone rubber. Follow these steps:
Reading the Instructions
Read the manufacturer's instructions carefully before mixing the silicone rubber. Different types of silicone rubber may have different mixing ratios and curing times.
Measuring the Components
Using a scale, measure the appropriate amounts of the base and the catalyst components of the silicone rubber. Make sure to measure accurately to ensure proper curing.
Mixing the Components
Pour the base component into a clean, dry container. Slowly add the catalyst component while stirring continuously. Use a spatula or a mixing stick to ensure thorough mixing. Make sure to scrape the sides and bottom of the container to incorporate all the material.
Degassing
To remove any air bubbles from the silicone rubber mixture, you can use a vacuum chamber. Place the container with the silicone rubber mixture inside the vacuum chamber and apply a vacuum. The air bubbles will rise to the surface and escape. Leave the silicone rubber mixture in the vacuum chamber until all the air bubbles have been removed.
Pouring the Silicone Rubber
Once the silicone rubber is mixed and degassed, it's time to pour it into the mold box. Here's how:
Pouring Slowly
Slowly pour the silicone rubber mixture into the mold box, starting from one corner and allowing it to flow evenly around the master pattern. Make sure to pour the silicone rubber slowly to avoid trapping air bubbles.
Filling the Mold
Continue pouring the silicone rubber until the mold box is completely filled. Use a spatula or a brush to remove any air bubbles that may have formed on the surface.
Curing the Silicone Rubber
After pouring the silicone rubber, it needs to cure. The curing time depends on the type of silicone rubber and the temperature. In general, it can take anywhere from a few hours to a day. Make sure to follow the manufacturer's instructions for the specific curing time and temperature.
Removing the Mold
Once the silicone rubber has cured, it's time to remove the mold from the mold box and the master pattern. Here's how:
Removing the Mold Box
Carefully remove the mold box from around the cured silicone rubber mold. You may need to use a screwdriver or a pry bar to loosen the mold box if it is stuck.
Removing the Master Pattern
Gently separate the master pattern from the silicone rubber mold. Start by flexing the mold slightly to break the bond between the master pattern and the silicone rubber. If the master pattern is difficult to remove, you can use a mold release agent or a small amount of lubricant to help loosen it.
Post - Processing the Mold
After removing the mold, you may need to perform some post - processing steps to ensure its quality and functionality. Here are some common post - processing steps:
Trimming
Trim any excess silicone rubber from the edges of the mold using a sharp knife or scissors. Make sure to trim the mold carefully to avoid damaging the mold or the details.
Inspecting
Inspect the mold for any defects or imperfections, such as air bubbles, tears, or uneven surfaces. If you find any defects, you can try to repair them using additional silicone rubber or a suitable repair compound.
Using the Mold for Silicon Rubber Casting
Once the mold is ready, you can start using it for silicon rubber casting. Here's how:
Preparing the Casting Material
Prepare the casting material, which can be the same type of silicone rubber or a different material depending on your requirements. Follow the same steps as for mixing and degassing the silicone rubber for the mold - making process.
Pouring the Casting Material
Pour the casting material into the mold, following the same pouring technique as for the silicone rubber mold. Make sure to fill the mold completely and remove any air bubbles.
Curing the Casting
Allow the casting material to cure according to the manufacturer's instructions. Once the casting has cured, remove it from the mold.
Quality Control
Quality control is an important aspect of silicon rubber casting. Here are some key quality control measures:
Dimensional Accuracy
Measure the dimensions of the casted parts using a caliper or a micrometer. Compare the measured dimensions with the specifications to ensure that the parts meet the required tolerances.
Visual Inspection
Inspect the casted parts visually for any defects, such as air bubbles, surface imperfections, or incomplete details. If you find any defects, you may need to adjust the casting process or the mold.
Conclusion
Making a mold for silicon rubber casting is a multi - step process that requires careful planning, attention to detail, and the right materials and techniques. By following the steps outlined in this blog, you can create high - quality molds for silicon rubber casting. As a Silicon Rubber Casting supplier, I'm committed to providing you with the best materials and support for your silicon rubber casting needs. If you're interested in learning more about our products or have any questions about the mold - making process, feel free to reach out to us for a consultation. We're here to help you achieve the best results in your silicon rubber casting projects.
References
- "Silicone Rubber Technology" by William E. Wood
- "Mold - Making and Casting Techniques" by David F. Hodel
- Manufacturer's instructions for silicone rubber and related materials.